
Introduction
Has it ever happened that you are bundled with work, and time is running out to complete the deadline? We understand that you cannot transfer your responsibilities to others. However, you can definitely add a second monitor to your laptop to reduce distractions and maintain focus for improved productivity.
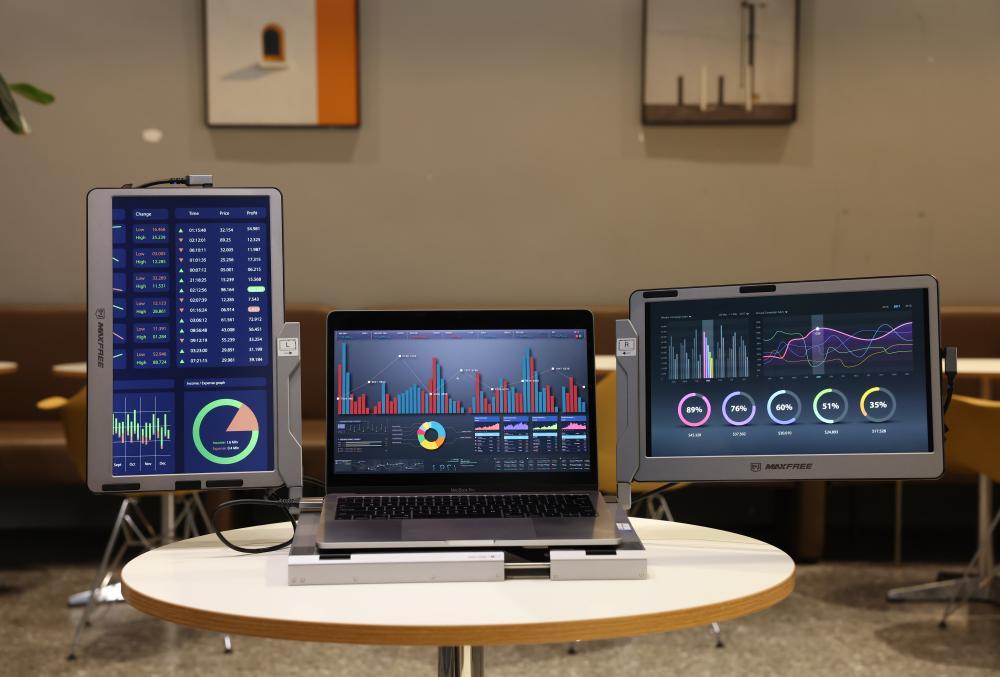
When you use a laptop as monitor, you can extend your desktop workspace without purchasing an additional display. We have covered detailed information on how to use a laptop as a monitor, irrespective of Windows or Mac computers. So, without wasting time, stay with us to go through the detailed highlights of the setup and usage guide for enhanced productivity and workspace.
Benefits of Using a Laptop as Monitor
When you project your primary display to a spare laptop, you can get a second screen without spending additional money on an extra monitor. All you need to do is configure and adjust the display settings to match the main display. Furthermore, when you use a laptop as monitor, you can increase your productivity seamlessly with a positive work outflow. Here's why you should use laptop as monitor.
#1. Increased productivity
When you use laptop as second monitor, you can view your work document on one screen and open different documents on the other screen without indulging yourself in the hassle of maximizing or minimizing the current window.
#2. Multitask smoothly
With a second monitor, you can multitask seamlessly. For instance, you can browse social media, open your emails, do some research work, etc., without losing patience. Most importantly, it does not involve switching tabs. Instead, each task can be done in its dedicated space altogether.
#3. Portable productivity powerhouse
The best part of using your laptop as a second monitor is that it makes it portably convenient to travel across places without compromising on your work. You can take your dual-monitor set up anywhere without hindrance, be it in a cafe, co-working space, or on a trip. All you need to do is connect your laptop, and all your work will be open before you in their dedicated spaces to unlock the productivity haven.
#4. Explore your creativity
Whether you are a designer, student, teacher, developer, etc., a dual-monitor setup comes in handy for everyone. You can easily drag and then drop the required elements with ease and compare the two screens parallelly for an uncompromised workflow.
#5. Cost-effective solution
In the era of technological advancement, you may wonder if you need to spend a penny to improve your productivity and workflow or may question yourself, can I use my laptop as a monitor? The answer is absolutely yes! When you use your laptop as a second monitor, you save yourself from shelling out for an expensive second monitor, especially when you have a good one already lying idle with you. Simply repurpose the unused screen and increase your workflow and productivity significantly without spending a lot of money.
So whether you have a Windows PC or a Mac computer, you can use it as a monitor for an increased workflow, improved productivity, and expanded workspace. Let's see how to use laptop as monitor with the detailed steps without any hassle.
How to Use Laptop as a Second Monitor (Windows or MacOS)
PC and Laptop With Windows System
If you have a Windows laptop lying idle with you, you can configure the projection settings on your Windows laptop to use laptop as second monitor for your primary system. Check out how to configure and adjust the display settings, and then connect your main laptop to the additional monitor.
Configurations and Settings (How to Configure Your Laptop to Be a Monitor for Another PC)
Step 1: First, open the Projection settings by launching the Start Menu. Then, search Projection settings and click on the result that follows.
Step 2: After opening the Projection settings, change the required settings, such as the following;
- Some Windows and Android Devices can project to this PC when you allow them to: Pick the Always available on secure networks option.
- Ask to project to this PC: Choose the First Time Only option. This way, you won't get a popup whenever you want to project to the laptop.
- Require a PIN for pairing: Choose the First time option. Since it is your personal laptop, you do not need to enter the password every time.
Step 3: Select the Launch the Wireless Display app to project to this PC option. The Wireless Display app will open instantly.
Connect Your Main System PC to your Laptop
Step 1: Firstly, open Display Settings on your main computer. You can do so by searching Display through the Windows Search bar and tapping on the final search result, i.e., Display settings.
Step 2: Open the Display settings and tap the downward arrow icon to open and expand the Multiple Displays section.
Step 3: Now tap the Connect tab before the Connect to a wireless display option.
Step 4: Select the laptop display from the list of Available displays.
Step 5: Now note down the PIN appearing on the laptop's display.
Step 6: Type the noted PIN in the available space and click the Connect button again.
Step 7: Now select the check box of Allow mouse, keyboard, touch, and pen input from this device. You must know that if you ignore this option, you won't be able to use the input device connected to your primary PC. This way, only the laptop's track pad and keyboard will work.
Step 8: Now move down and select the Extend option.
Step 9: Choose the primary audio output device from the list. If you don't do this, Windows will use the laptop's speakers to play audio. After this, your main display will extend to the laptop screen.
Step 10: Press the shortcut keys Windows and K together, and tap the Disconnect button. Doing so lets you disconnect the laptop display and quickly free it for other valuable tasks.
PC and Laptop With macOS
Luckily, Mac computers support one or more external displays, depending on the Mac model, to double your Mac screen space and unlock the seamless workflow boost on your Mac computer. Here's how to connect an external display.
Connect the Display to Power and Your Main System (Mac)
Step 1: Use your display's power cable to connect the display to power.
Step 2: Then, you must connect the display to your Mac computer, such as to a Thunderbolt or HDMI port, using your display's video cable.
Note: Different ports might look similar, so it's essential to identify the port correctly.
Step 3: If the video cable requires a port that your Mac doesn't have, you can use an adapter with the video cable. Alternatively, you can replace the video cable with one that doesn't require an adapter.
Step 4: When your display has power and is connected correctly, your Mac computer automatically detects the display. After that, you should see your Mac screen on the display, and after establishing a stable connection, you can configure display settings.
Configure the Display Settings
Step 1: On your Mac, move to the Apple menu at the upper left corner of your screen and select System Settings or System Preferences. Then, scroll down and choose Displays in the left pane.
Step 2: Change or adjust the Display resolution and brightness, choose a refresh rate, or even arrange your displays and much more in the Display settings
Note: If the display is not made by Apple, some settings might be available only by using the display's built-in controls and menu system. You must check your display's documentation for details.
The Final Thoughts
When you use laptop as a second monitor, you can increase your workflow significantly in a cost-effective manner. You can set your creativity free and transform your workspace for digital efficiency. But you must remember configuring the display settings and enabling a projection connection to use it efficiently and seamlessly for all your tasks. Suppose you were seeking answers regarding how to use a laptop as a monitor. In such a case, we have helped you with comprehensive details on connecting Windows PCs and Mac computers for a smooth and improved workflow.

Leave a comment
This site is protected by reCAPTCHA and the Google Privacy Policy and Terms of Service apply.